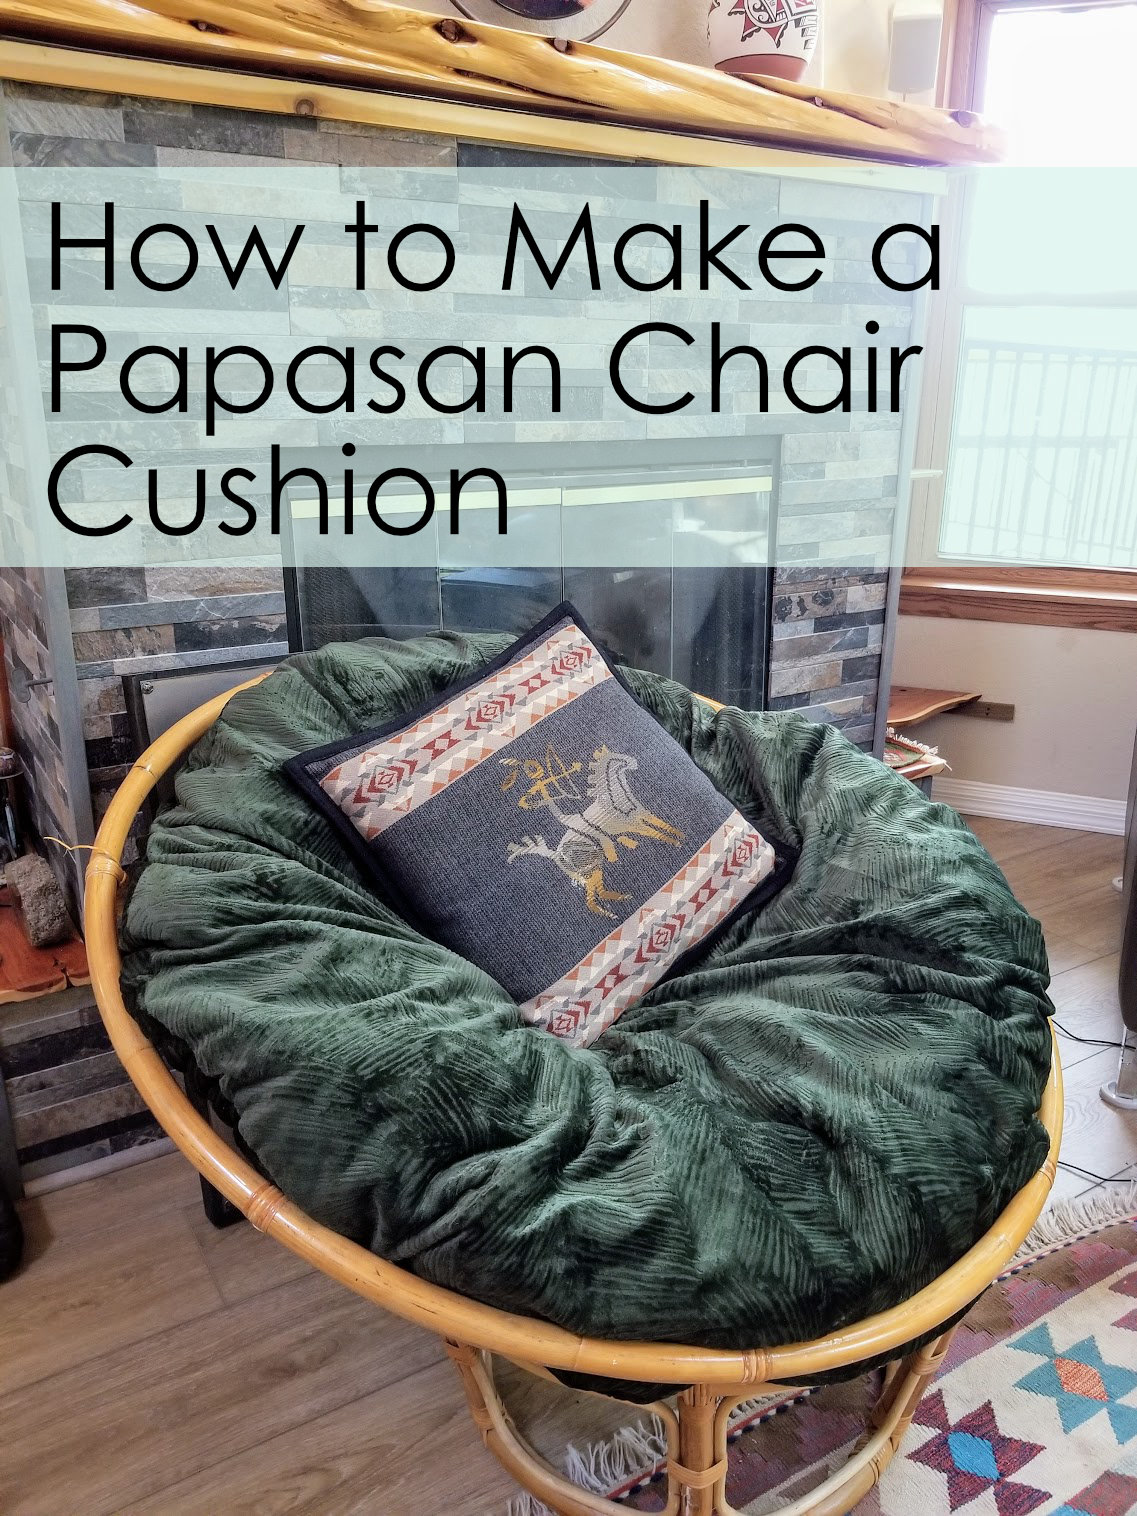
I have had a papasan chair frame and no cushion for over a year because I didn’t have it in my heart to cash out 80 bucks for a new one. After my pets scratched and peed the life out of my old cushion, I searched for sales or used cushions that I could make work, with no luck. I then decided to make my own, reusing old pillows from around the house (because stuffing is also more expensive than you’d think and REUSE).
Tools:
- scissors
- measuring tool
- sewing pins
- string
- a sewing machine (or needle, thread, and a lot of patience)
Supplies:
- 3 yards of fabric
- at least 4 old pillows/other stuffing
- buttons or scissors or Velcro

Sewing machine recommended
To begin the project I pulled out my grandma’s sewing machine to see if I could figure out how to use it. With me and my mom’s brain (mostly my mom) we were able to figure out how to load up the thread and get started! Knowing I could use the machine, I was ready to get this project done within the day!

Get some fabric and cut out a circle!
I purchased the fabric for about 10 bucks with a nice fuzzy fern design, which is a fabric I knew my cat wouldn’t scratch up this time since it’s not woven. I laid out the fabric and measured out a 52-inch diameter circle (for the 48-inch chair). I did this by attaching a shoelace to a knitting needle on one end and a sharpie on the other, leaving a 26-inch distance. I had my mom hold the needle while I drew the circle.

Reuse pillow stuffing or any cozy fluff material you have
Then I cut out the circle and laid it out flat. I wanted to test out the pillow stuffing I had, to make sure there was enough first. I cut the stuffing out of 4 pillows and pulled the folds apart so that I could spread it out and lay it all across. There seemed to be a good distribution, so I moved forward with cutting the fabric for the other side of the cushion.


I used pins to attach the circle flat on top with the cut circle facing down and the other fabric facing up. I did it in these directions so that both of the ultimate outsides of the fabric are facing in, so I can leave it pinned for sewing and then the seems will be on the inside. After pinned, I cut out the bottom circle just by following the edge of the other.


Start sewing or use embroider seams!
Now with my pinned two circles, time to sew. I marked on the circle two spots about 2 feet apart to be my start and end spot. I needed to make sure to stop with enough room to take it inside out, so the soft part was on the outside, and then I can fill it with the stuffing. After a few mishaps like the needle falling off, and going off the edge of the fabric once or twice, I finished sewing with the machine.

Next I pulled out the soft inside and stuffed in all the stuffing I prepared. It seemed okay with 4 pillows but I had an extra $4 pillow from Target (way cheaper than buying stuffing on its own) so I cut that up and stuffed it in too. I tested it out and it definitely would do the job, but we also had some old bedding foam lying around so I cut it up and stuffed it inside too. At this point, the cushion was extra fluffy, but very comfortable.


Your choice of how to close
Then I was debating how to close the last two feet, either sewing it up or sewing on buttons and holes, but my dad pulls out a zipper he had saved from years ago (DIY may be harder with less hoarding tendencies) and so I hand sewed the zipper across the hole. That way I can unzip and unstuff if I ever need to wash it.

The cushion is done! Lovely, soft, and very comfy. I’m currently sitting on it, typing up these instructions and I’m excited for many more hours of curling up and reading and writing in it.


If you prefer to buy your own, click below.
I will receive a portion of the profit, if you choose to buy from my link.


